Applies to: R4 Version and Zapier
Video of completed Zap in Action:
- Create a FREE account at Zapier.com
- Click the following Link to Join the SalesNexus Zap program:
SalesNexus Zapier Invitation! - Next Click "Make a Zap"

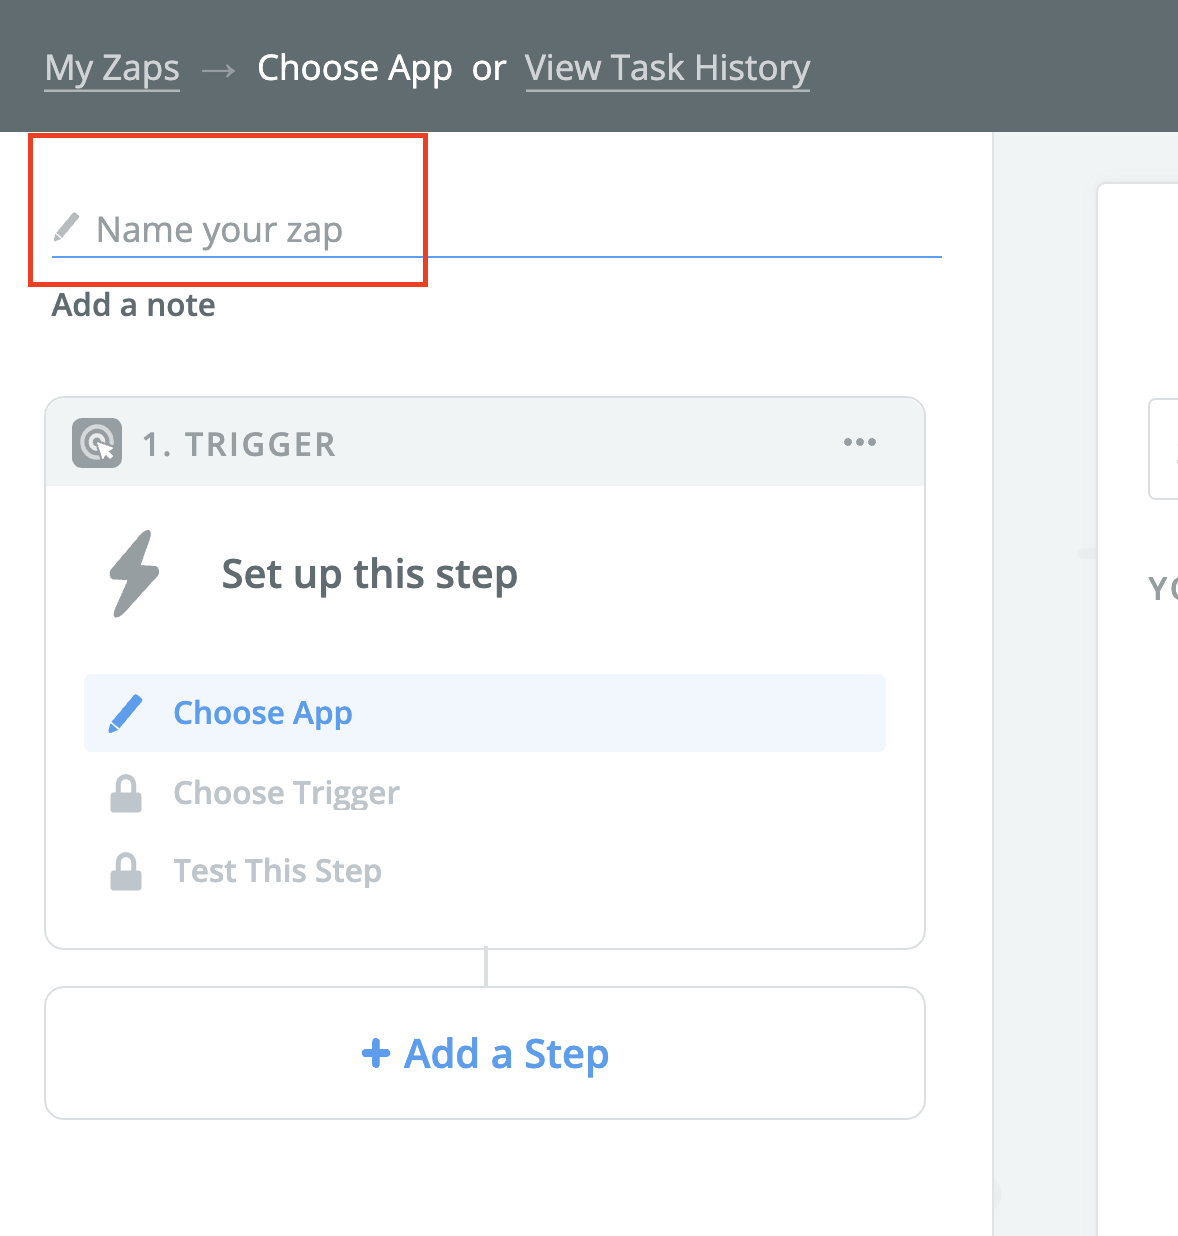
- Name your Zap
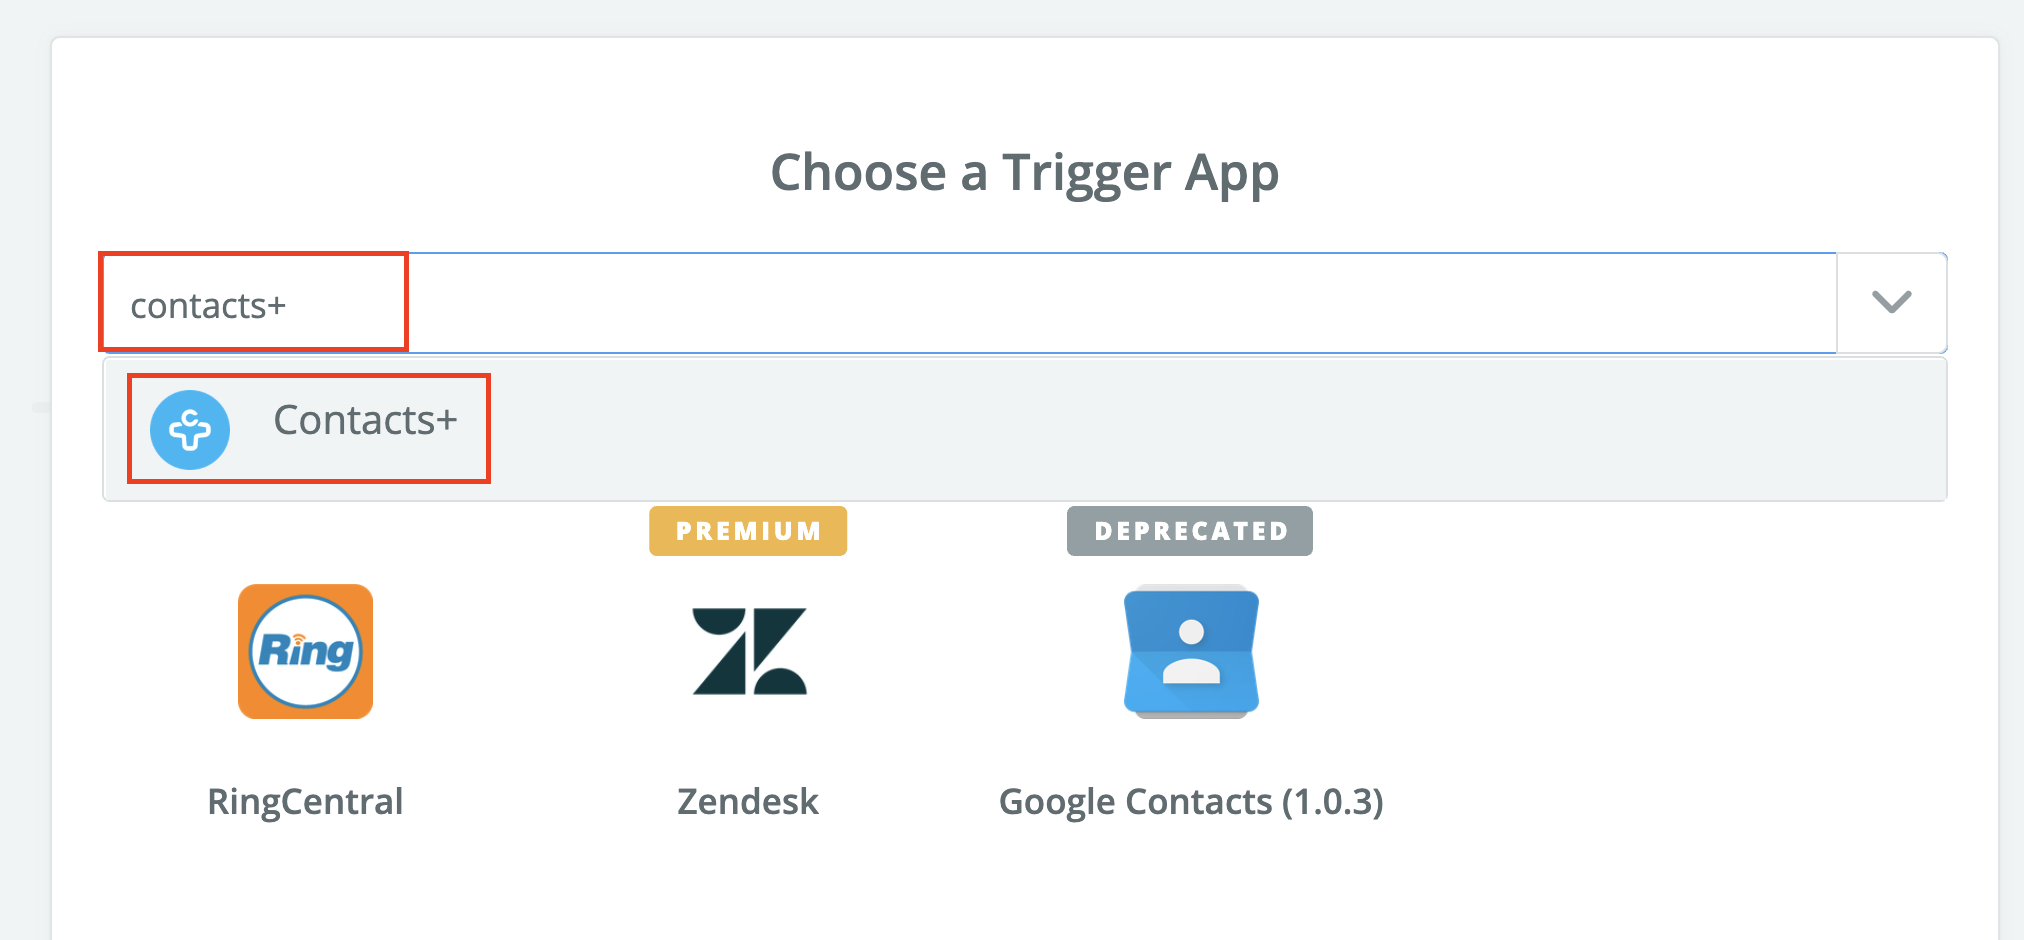
- Choose a Trigger app, search for "Contacts+"
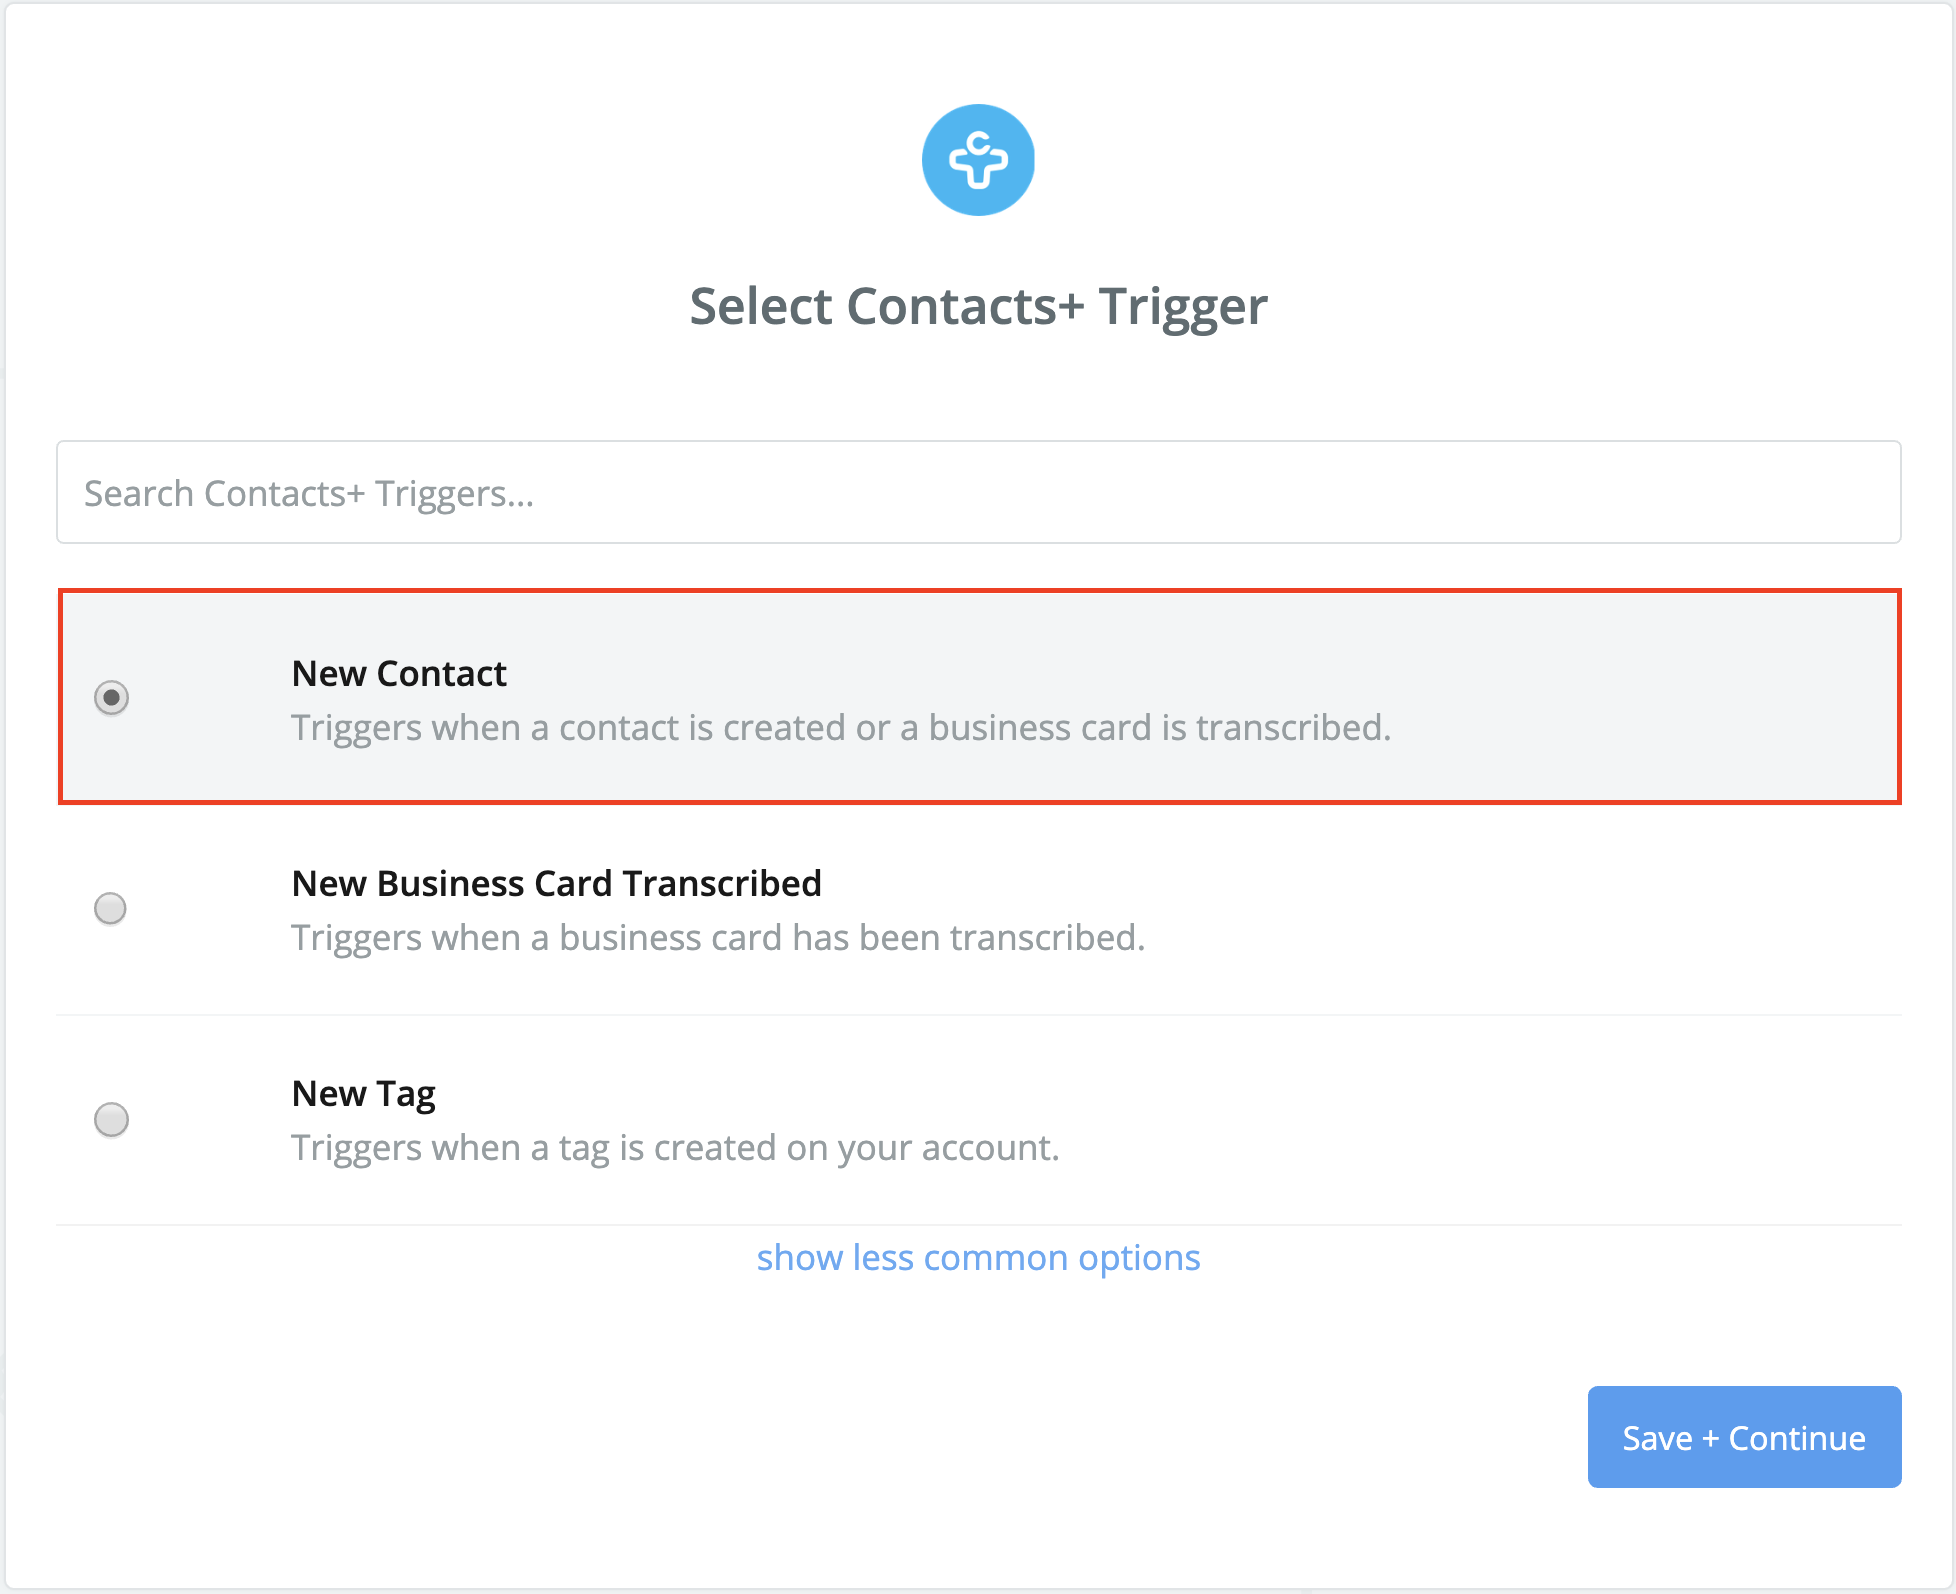
- Choose "New Contact" for the trigger
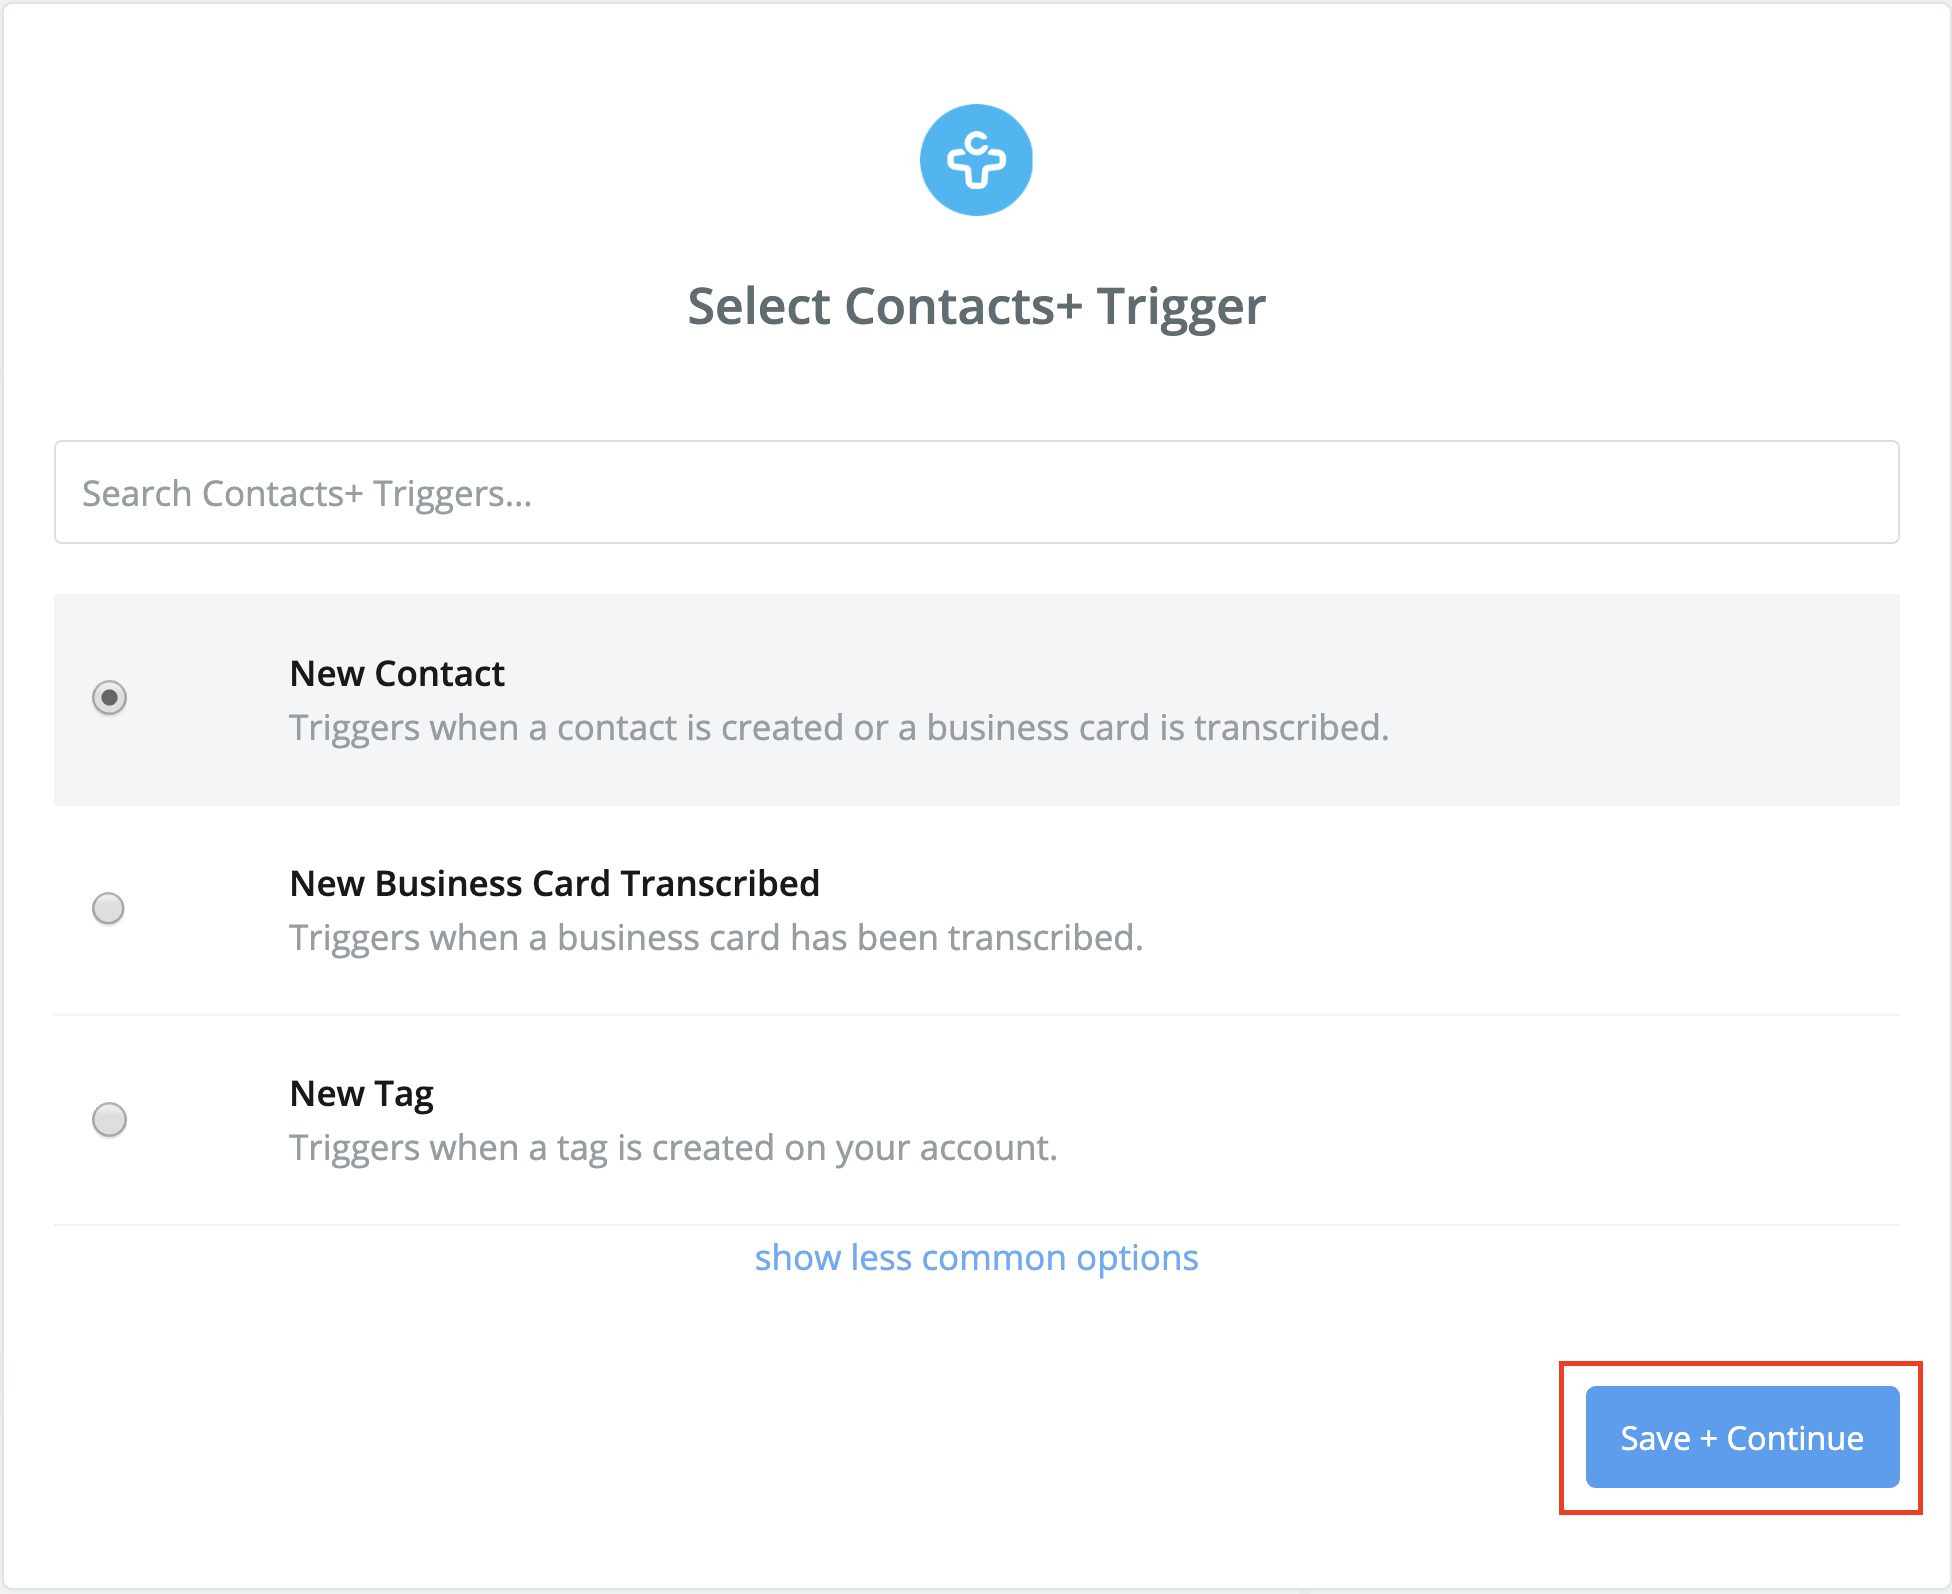
- Click "Save + Continue"
- Connect to your Contacts+ account
NOTE: If you haven't already, download the Contacts+ app from your Mobile device App Store. This is not a Free app, it requires a payment to continued use. - Once connected, click "Save + Continue"
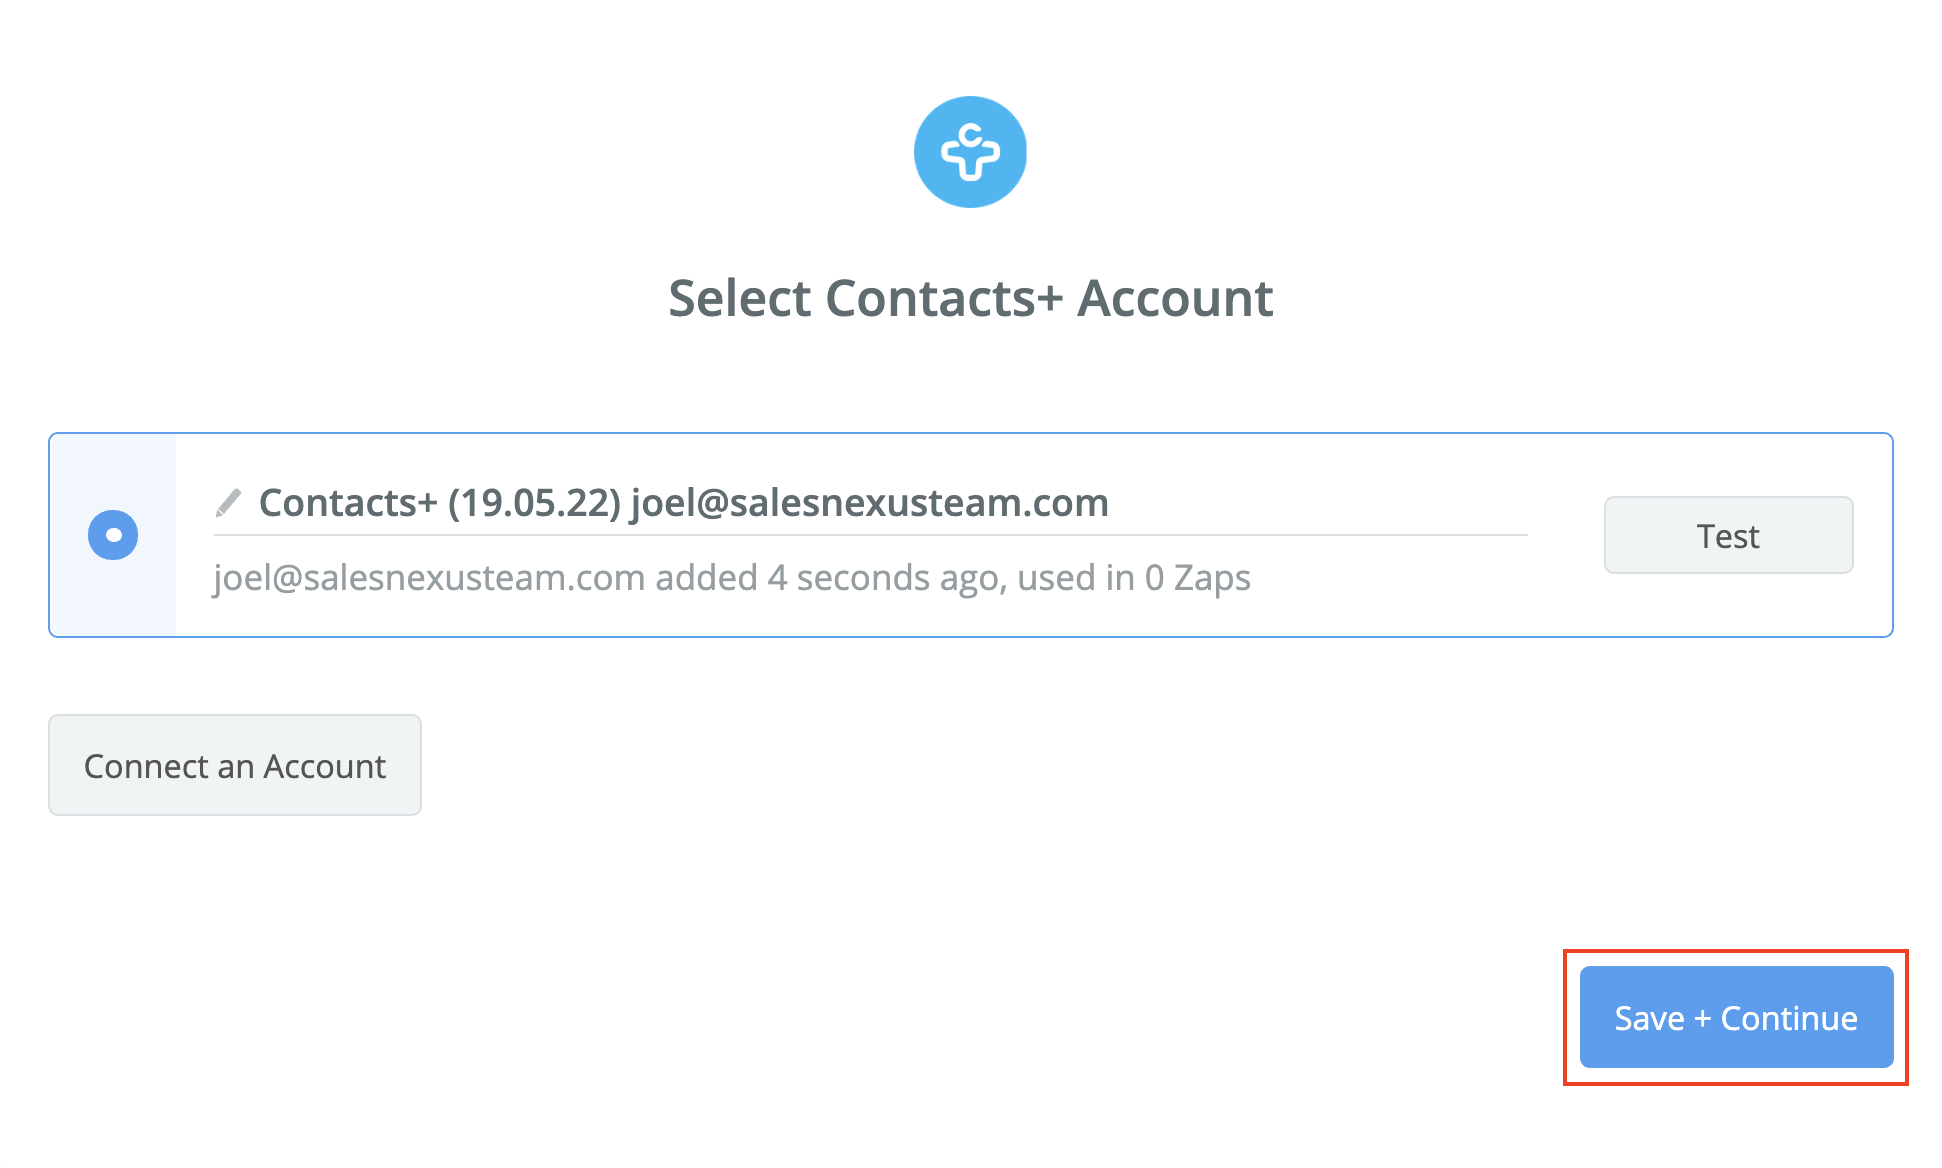
- Leave the "Team" and "Tags" empty for this Zap, and click "Continue"
- View the sample Data that Zapier pulled from Contacts+, and click "Continue"
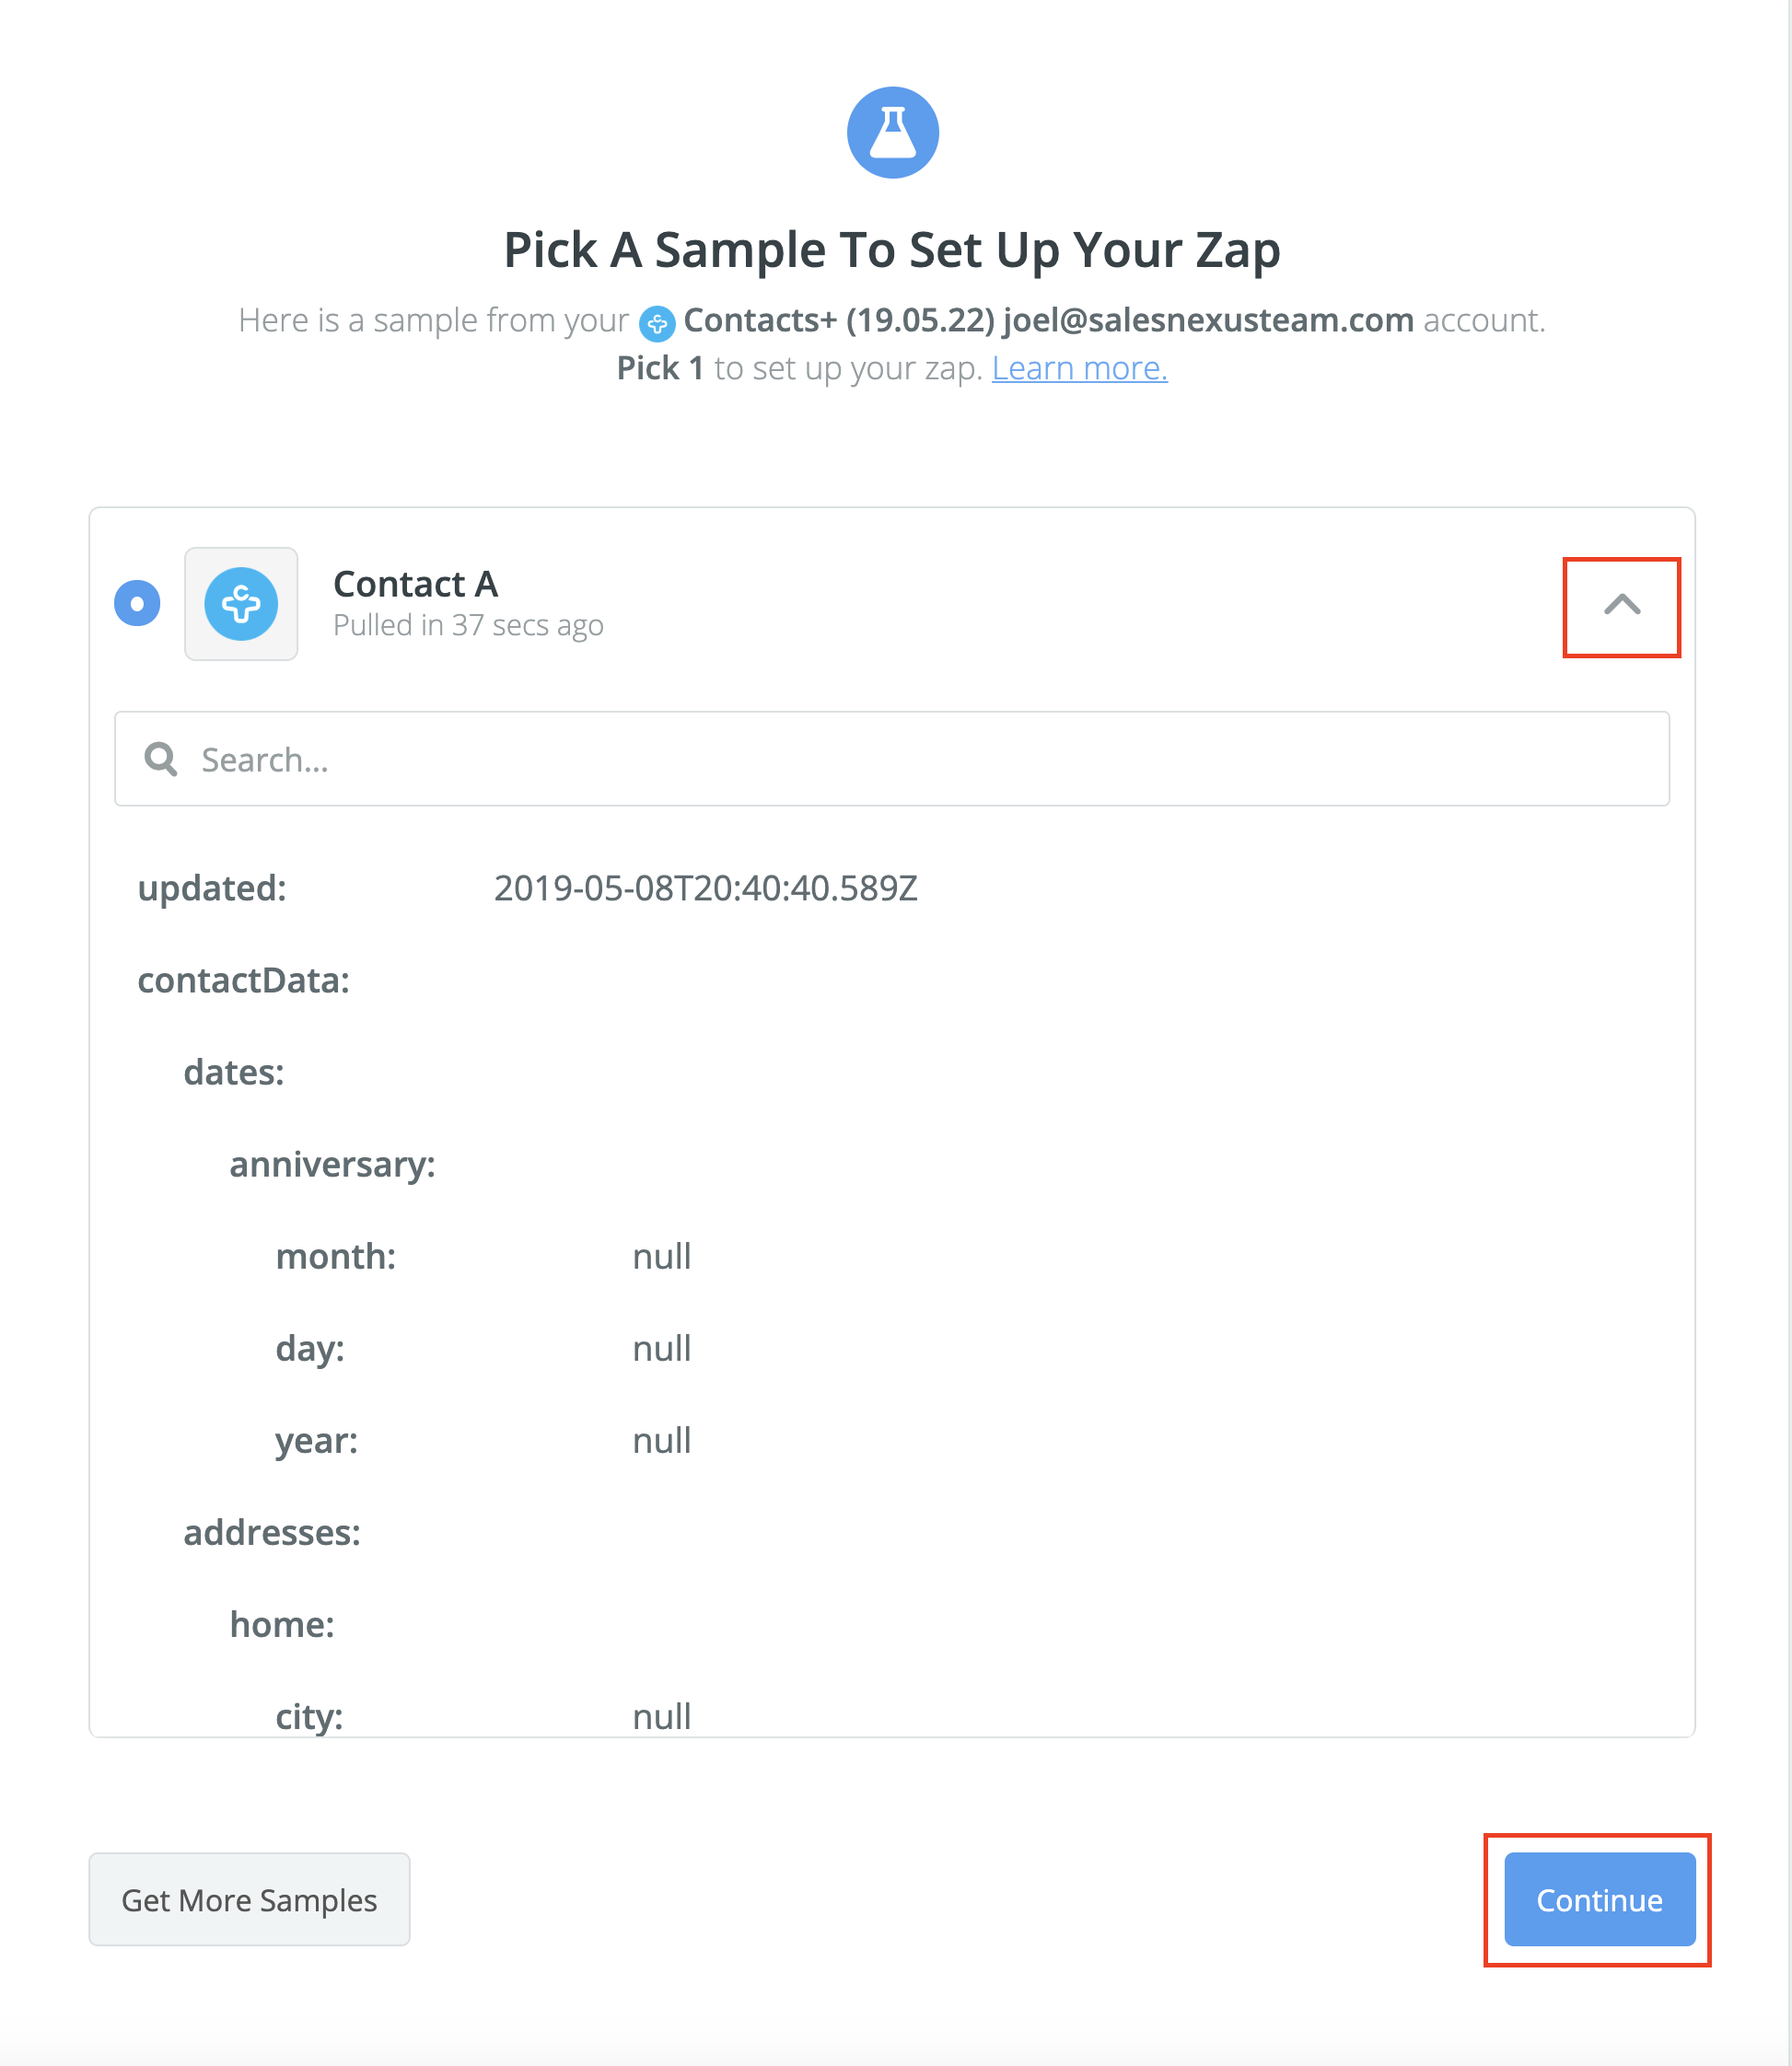
- Click the link for adding a new "Action" to your Zap

- Search for "SalesNexus", and select it
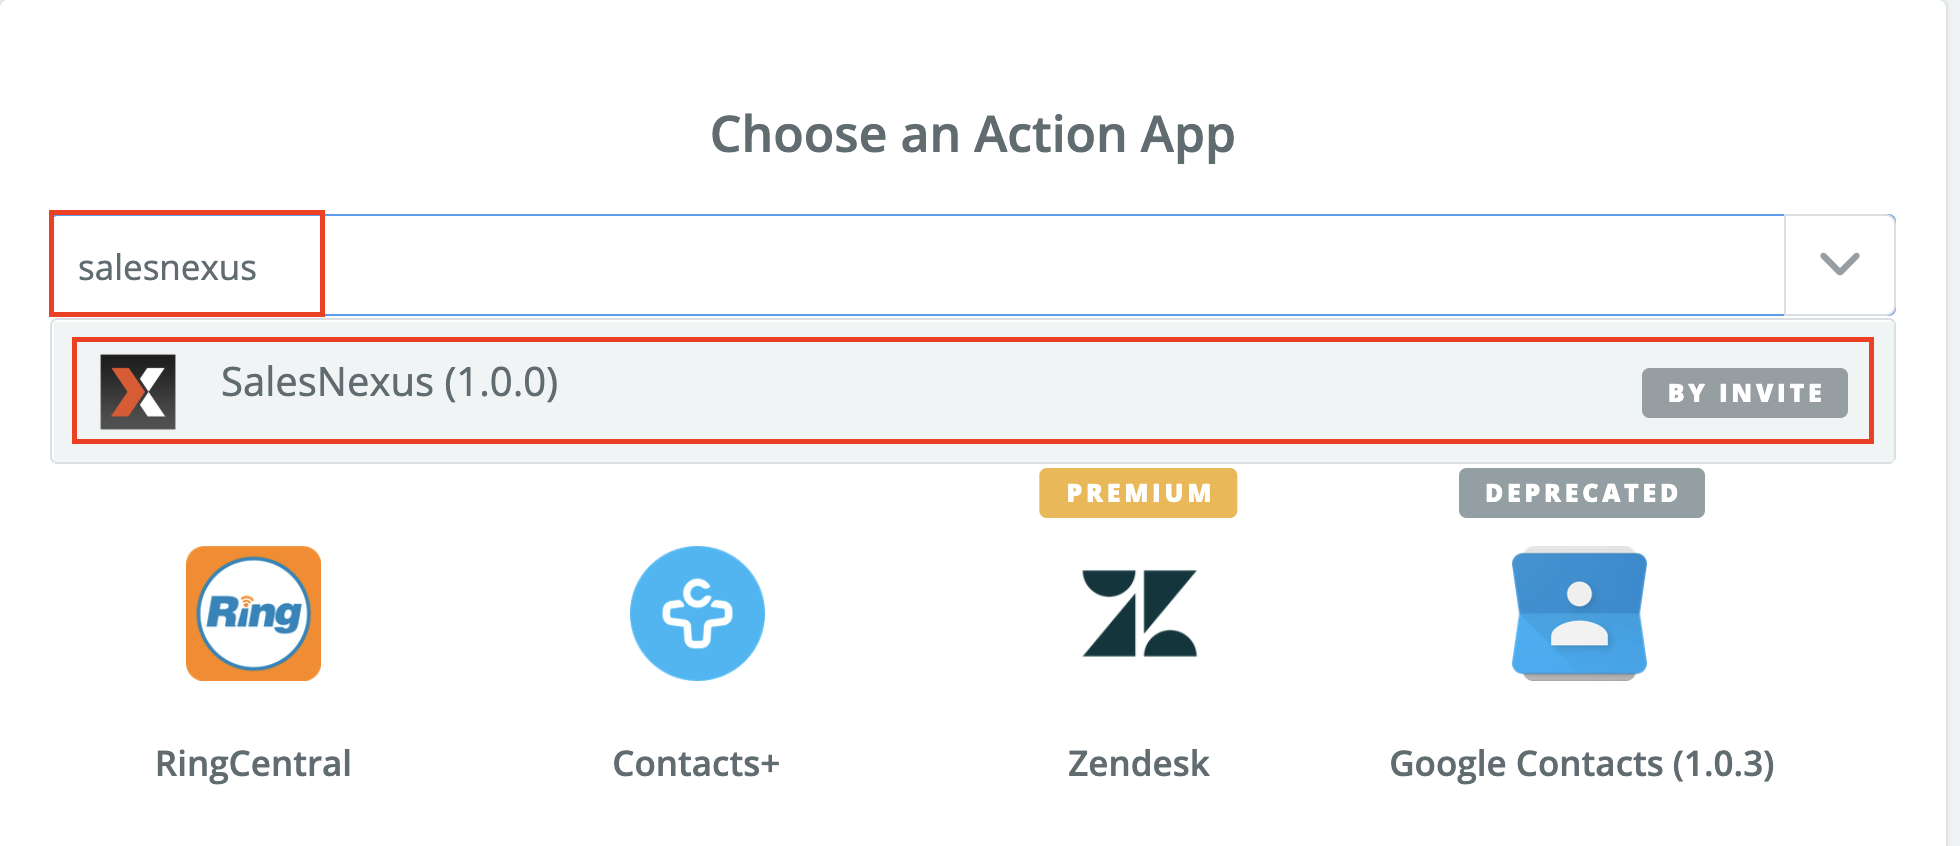
NOTE: If you don't see it when searching, be sure that you have clicked on the link at the beginning of this article, and that you confirmed the invite in the email Zapier sent. - Choose "Create Contact" from the list of actions, and click "Continue"
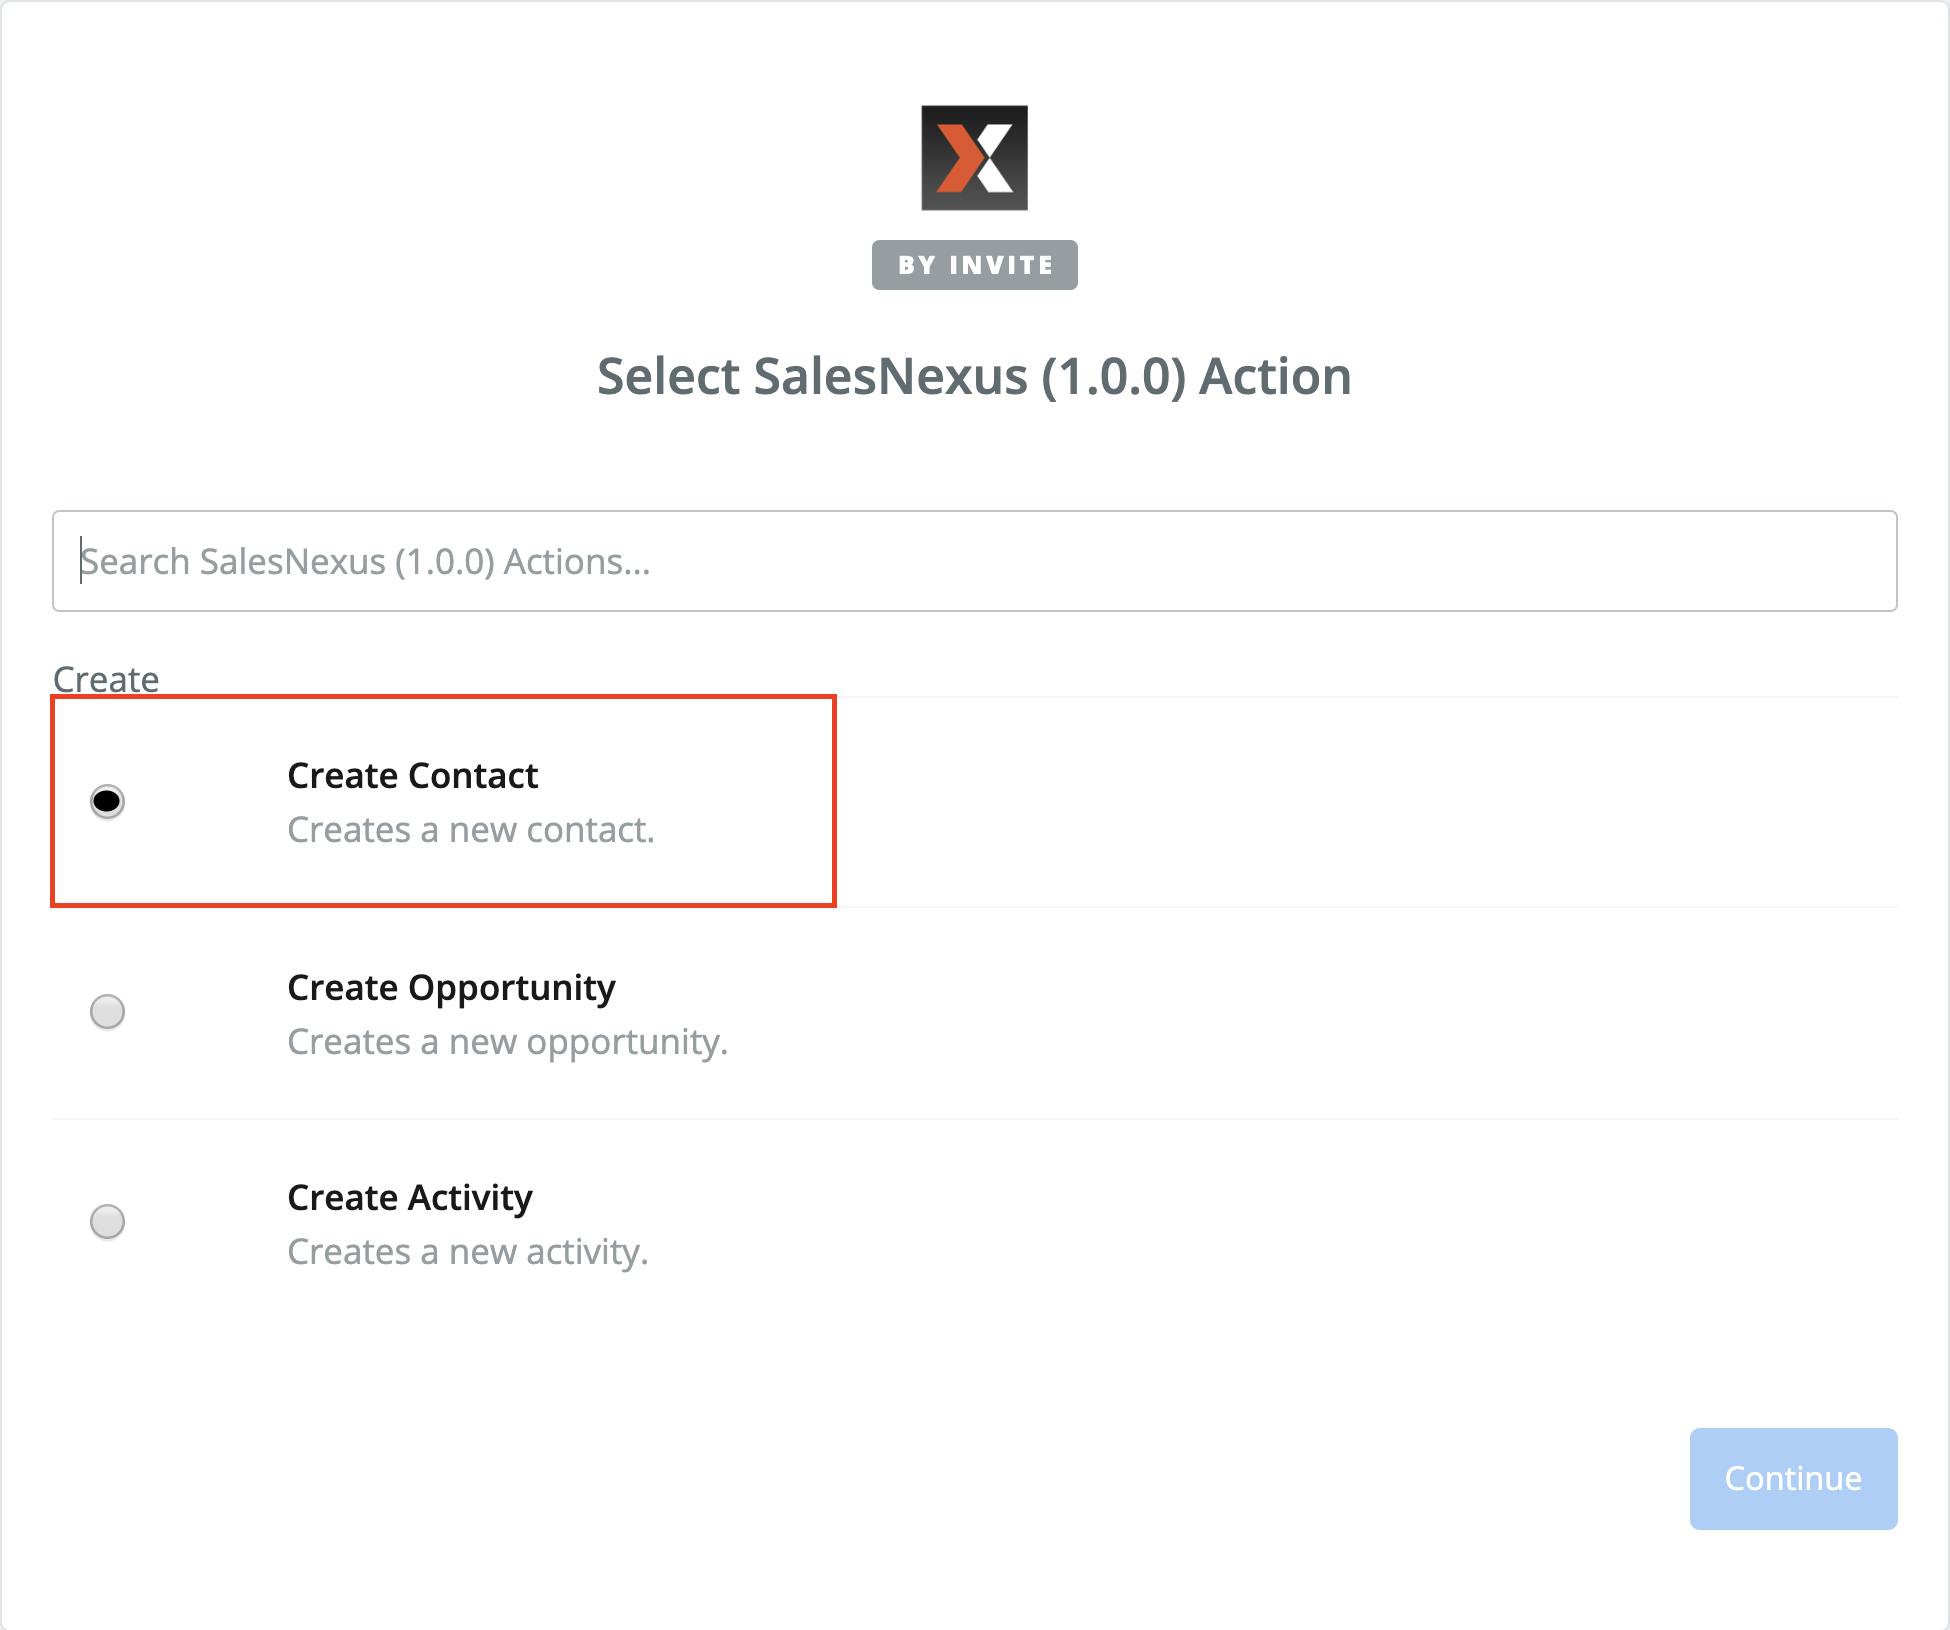
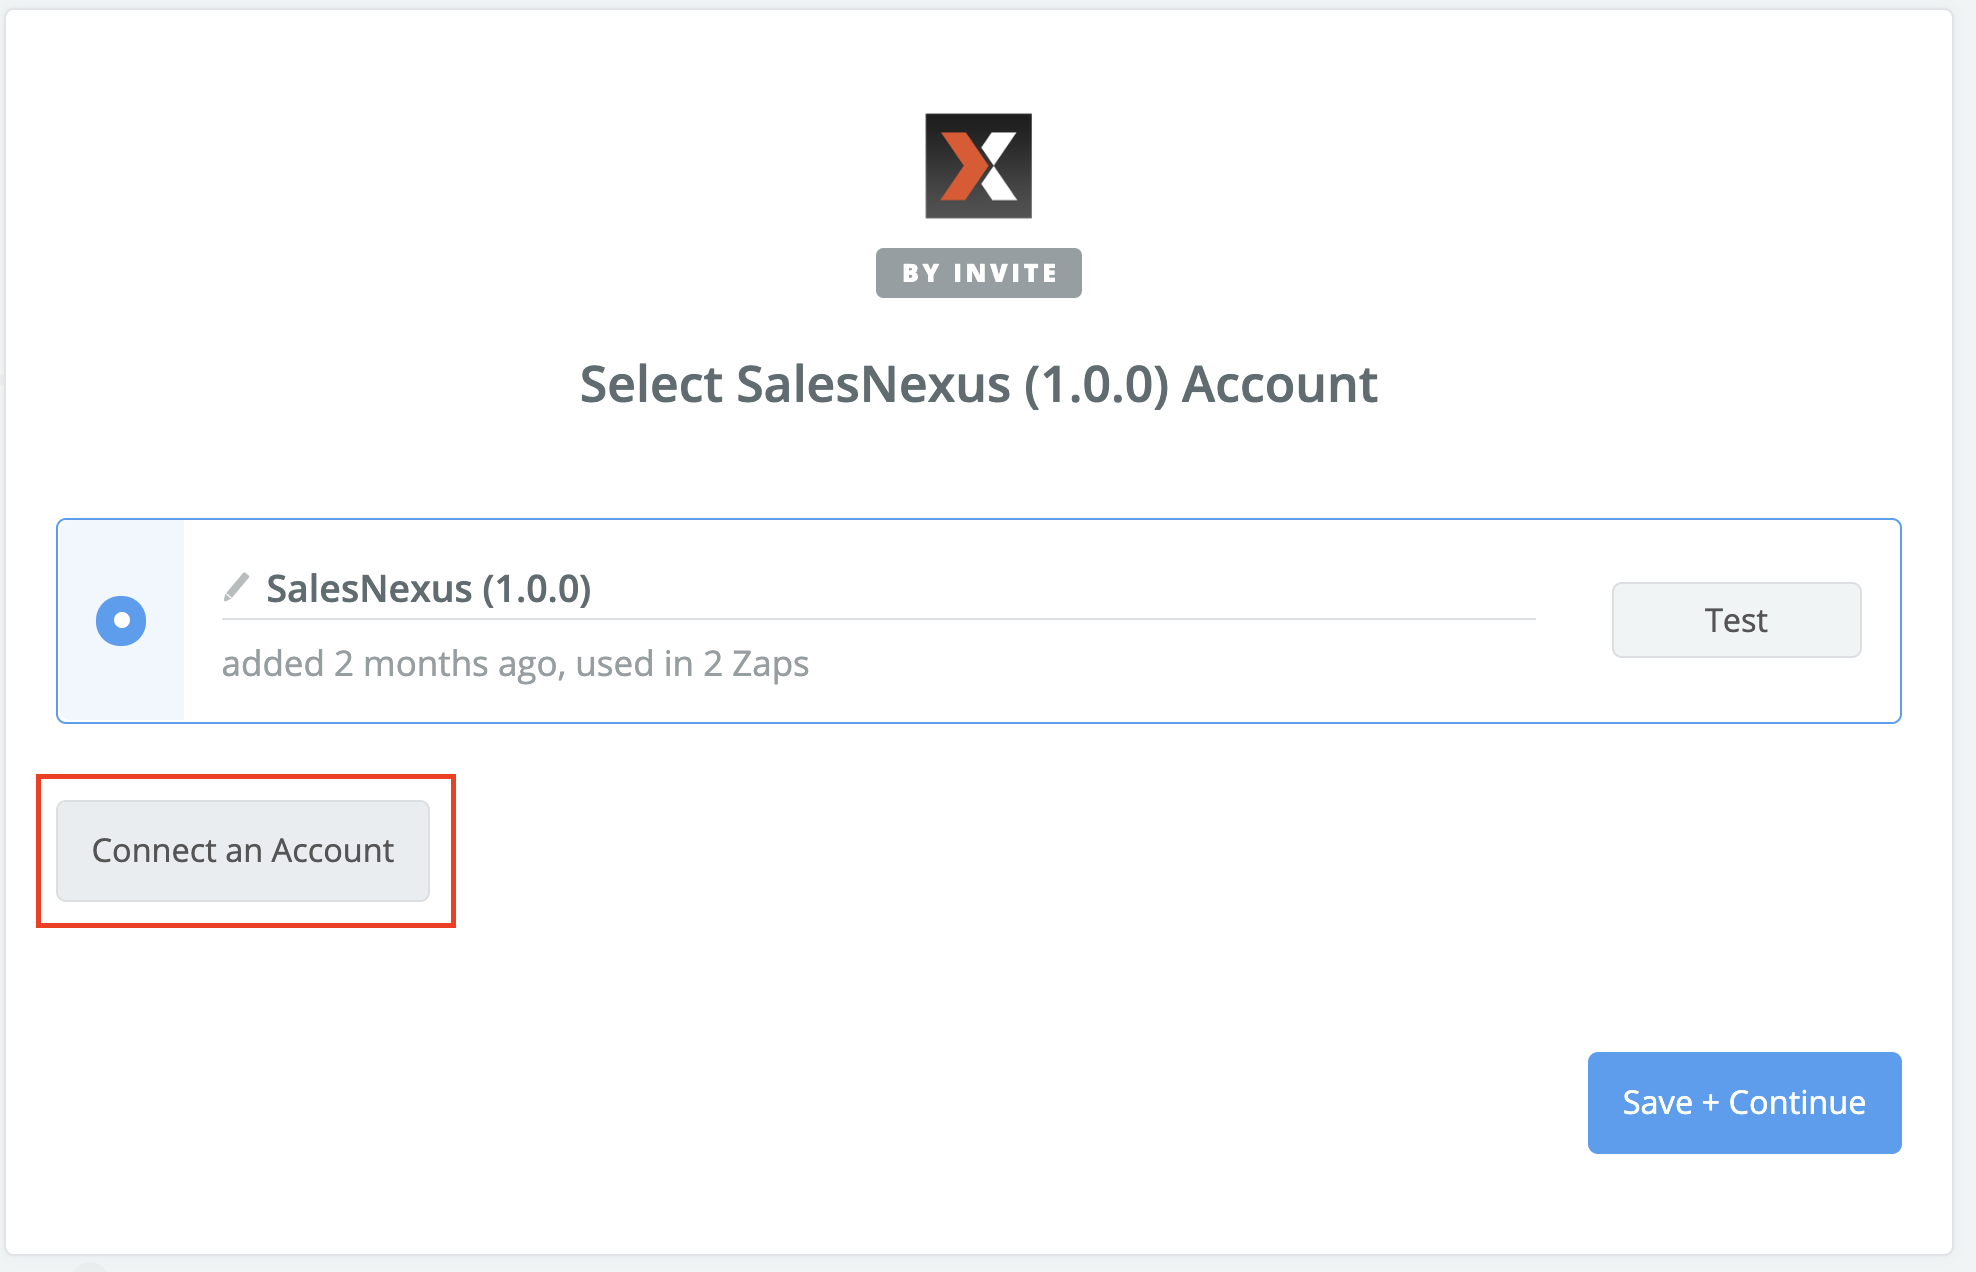
- Click Connect account
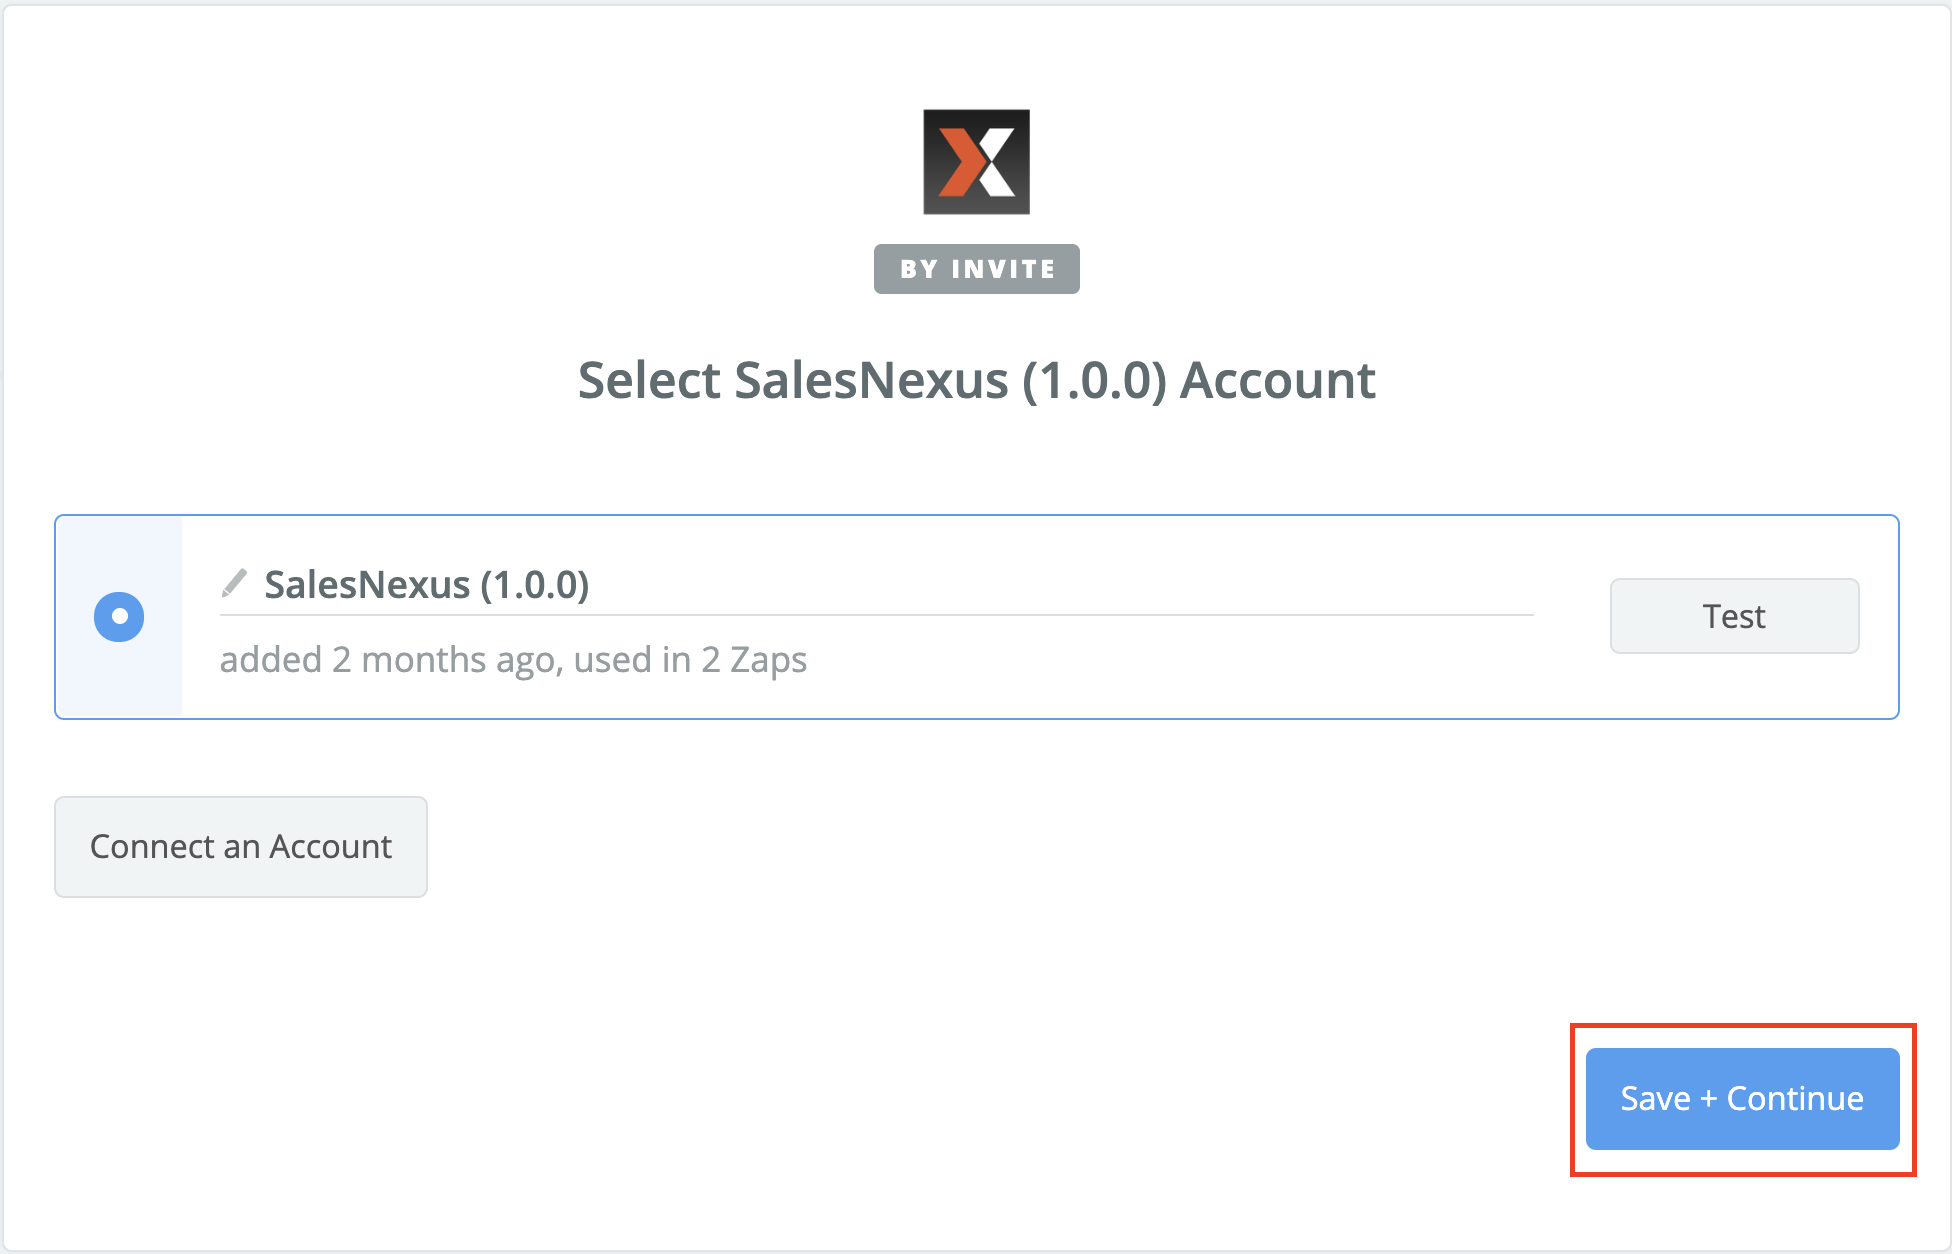
- Click "Save + Continue"
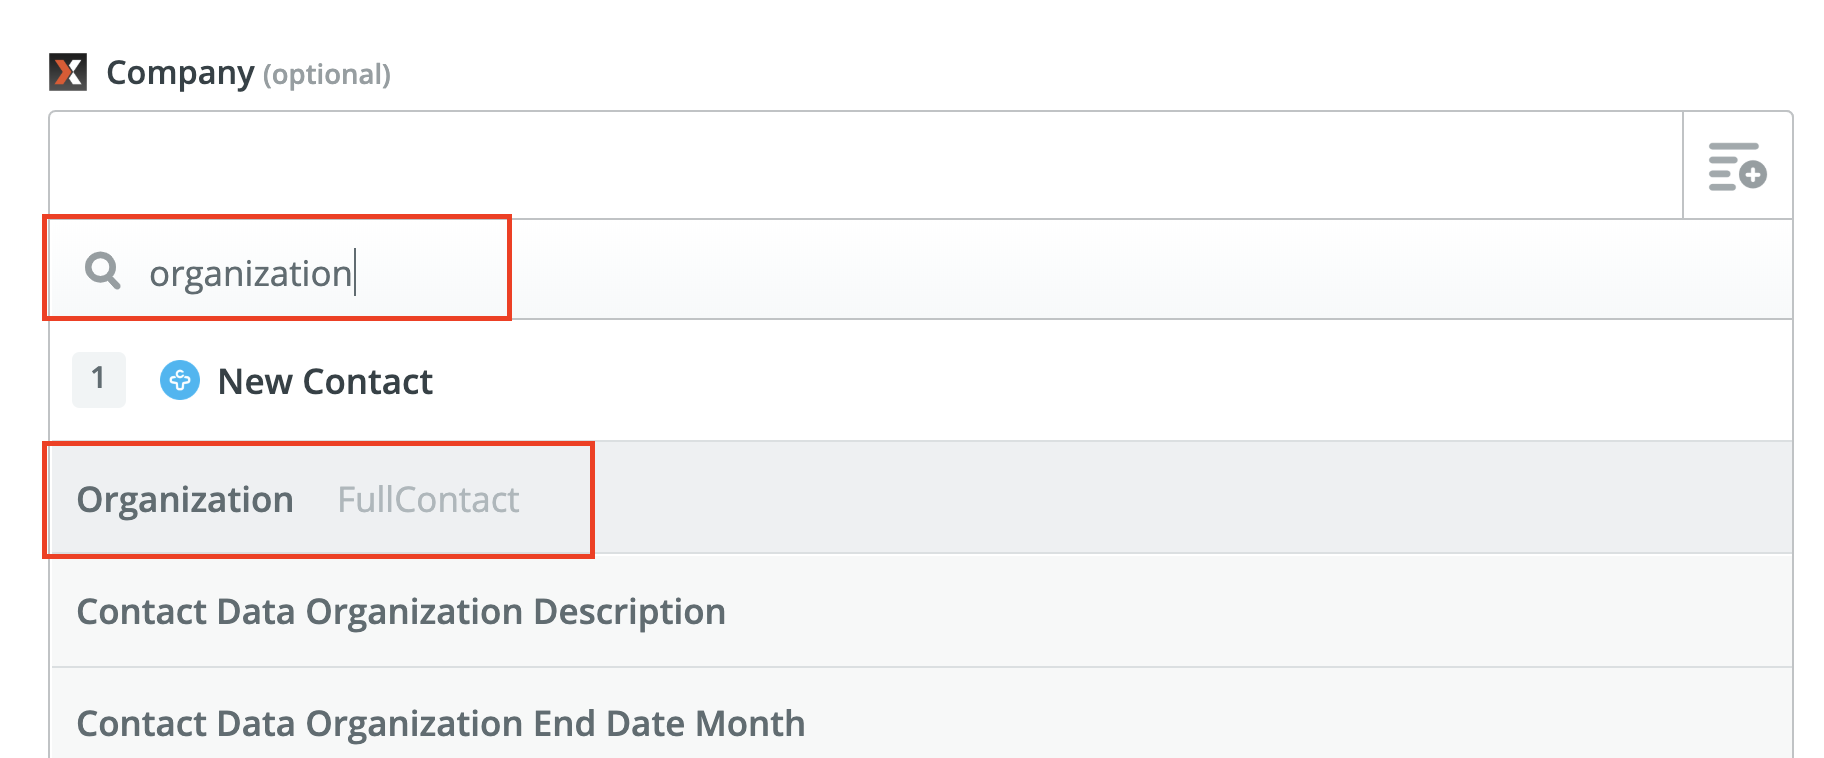
- Begin Mapping the fields from "Contacts+" to "SalesNexus" new contact record
- Click "Continue"
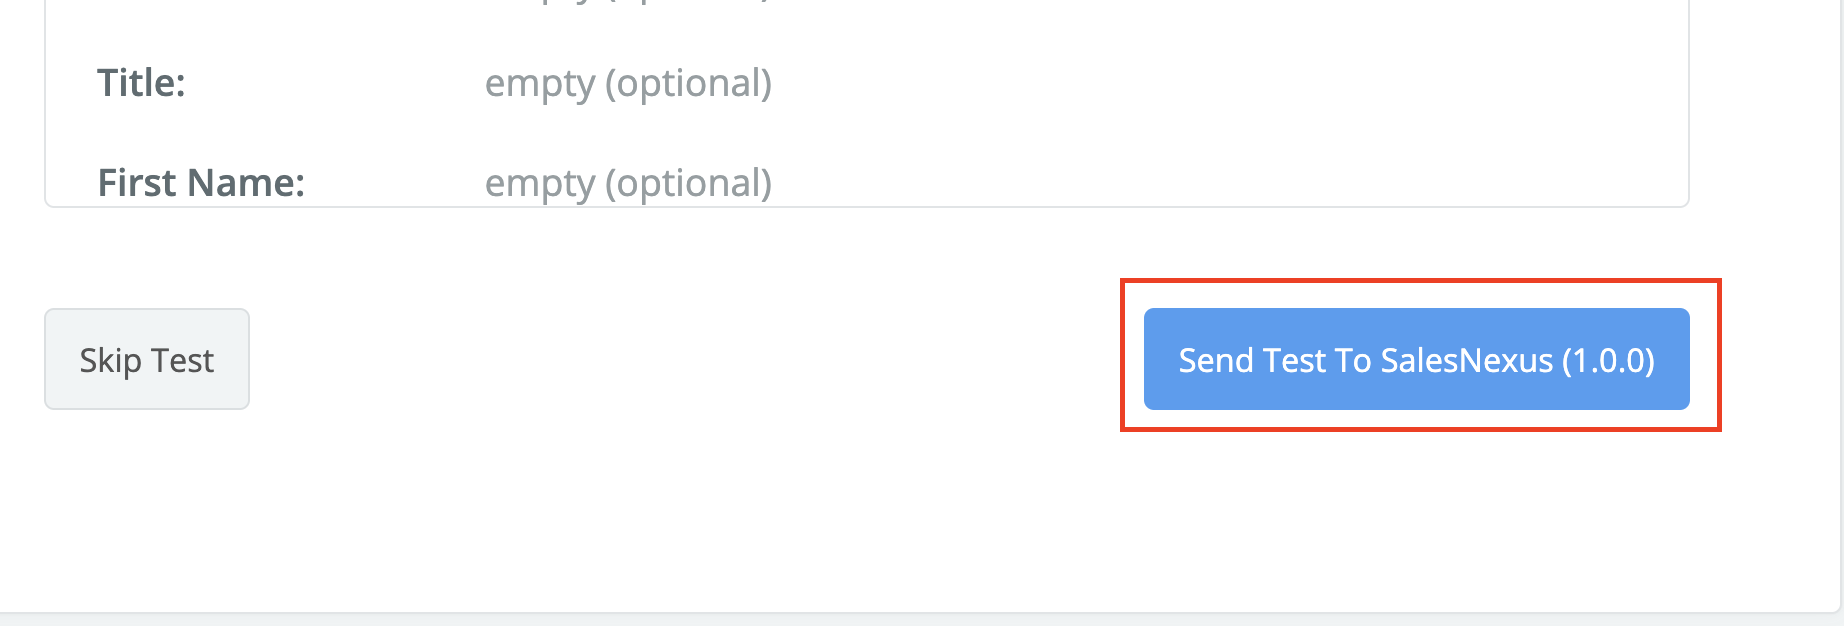
- Review the information you Mapped, and click "Send Test To SalesNexus"
- Now it is time to Test your new Zap!
- Open the App on your Mobile Device
- Snap a picture of the Business Card
- Wait for the card to be Transcribed
- Look for the New contact in SalesNexus after it has been Transcribed

Comments
0 comments
Please sign in to leave a comment.